
You don’t need a cheat day to eat dessert. You just need smarter desserts. This guide shows you how to make Vegan Gluten Free Desserts Made for Healthy Living that actually taste like the real thing—without the sugar crash, dairy bloat, or wheat slump.
We’re talking fudgy, creamy, crunchy, and craveable. Consider this your permission slip to eat dessert and still feel like a superhero post-bite.
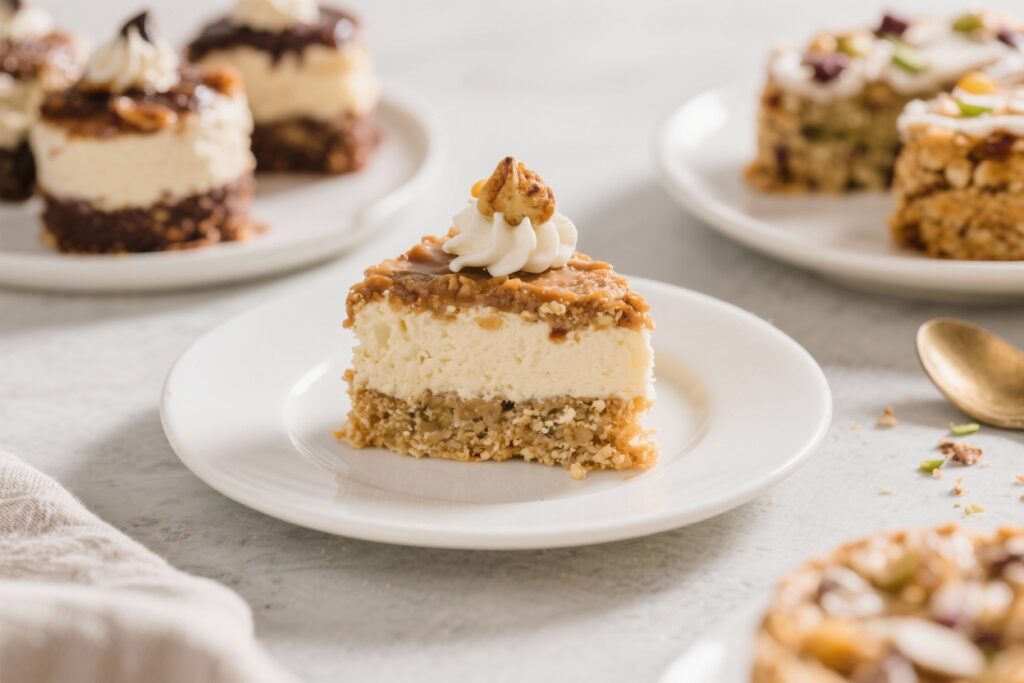
Why This Recipe Works

This recipe delivers decadent flavor with a short, strategic ingredient list. We combine naturally sweet whole foods (dates and maple syrup) with healthy fats (almond butter and coconut milk) to replicate classic dessert textures—fudge, mousse, and cookie crunch—minus the junk.
Using cocoa powder and almond flour keeps it gluten free while maintaining structure and that “can’t-stop-eating-this” mouthfeel. Bonus: It’s no-bake, so you get instant gratification with minimal effort. You’re welcome.
Ingredients Breakdown
- Medjool dates (pitted) – Natural sweetness and binding power for the base.
Softer and stickier than regular dates.
- Almond flour – Gluten-free “crust” body; lightly sweet and nutrient-dense.
- Unsweetened cocoa powder – Deep chocolate flavor without added sugar.
- Almond butter (or cashew butter) – Adds richness and helps bars set.
- Pure maple syrup – Natural sweetener with a clean finish. Agave works too.
- Full-fat coconut milk – Creates a silky, mousse-like topping.
- Vanilla extract – Rounds out flavor and balances bitterness.
- Pinch of sea salt – Makes sweet taste sweeter. Science.
- Dark chocolate chips (dairy-free) – For an optional ganache swirl or studded bites.
- Chopped nuts (pistachios, almonds, or pecans) – Adds crunch and contrast.
- Fresh berries – Brightness and antioxidants to top it off.
How to Make It – Instructions

- Prep the pan: Line an 8×8-inch square pan with parchment (with overhang).
This is your dessert insurance policy for clean cuts.
- Soften the dates: If they’re firm, soak in warm water for 10 minutes and drain well. You want sticky, not soggy.
- Make the base: In a food processor, pulse 1 1/2 cups almond flour, 1 1/4 cups pitted Medjool dates, 2 tablespoons cocoa powder, and a pinch of sea salt until it forms a sticky dough that holds when pressed.
- Press it down: Transfer base to the pan. Use a flat spatula or the bottom of a glass to press firmly into an even layer.
- Whip the mousse: In a bowl, whisk 1/2 cup full-fat coconut milk, 1/3 cup almond butter, 3 tablespoons maple syrup, 3 tablespoons cocoa powder, and 1 teaspoon vanilla.
Whisk until glossy and thick. Taste and adjust sweetness or salt.
- Layer it up: Spread the mousse evenly over the base. For extra drama, melt 1/3 cup dairy-free chocolate chips and drizzle on top.
Swirl with a toothpick like a dessert Picasso.
- Chill: Refrigerate for at least 1–2 hours (or 30–40 minutes in the freezer) until firm enough to slice.
- Finish with crunch: Sprinkle chopped nuts and fresh berries over the top before serving. A light pinch of flaky salt is elite.
- Slice smart: Use a hot, dry knife (run under warm water, wipe, repeat) to cut clean squares.
- Serve: Enjoy chilled for a fudgy bite or let sit at room temp for 10 minutes for a softer, truffle-like texture.
Storage Instructions
- Fridge: Store in an airtight container for 5–6 days. The texture improves on day two (true story).
- Freezer: Freeze sliced bars for up to 2 months.
Separate layers with parchment. Thaw 10–15 minutes before serving.
- Avoid excess moisture: Keep berries separate if storing long-term to prevent sogginess.

Why This is Good for You
- Better carbs, better energy: Dates and maple syrup pair fiber with natural sugars, reducing blood sugar spikes compared to refined white sugar.
- Healthy fats = satisfaction: Almond butter and coconut milk provide monounsaturated and medium-chain fats that keep you full and crush cravings.
- Gluten-free without the junk: Almond flour contains protein, vitamin E, and magnesium—no empty calories here.
- Antioxidant boost: Cocoa and berries deliver polyphenols that support heart health and recovery. Dessert as performance fuel?
Heck yes.
- No dairy, no drama: Vegan ingredients reduce inflammation triggers for many people, making this dessert gut-friendly.
Common Mistakes to Avoid
- Using dry dates: If they don’t bind, the base crumbles. Soak briefly, then drain well.
- Skimping on salt: A tiny pinch makes chocolate taste richer. Don’t skip it.
- Overmixing the base: If you process to a paste, the texture gets gummy.
Pulse until it just sticks together.
- Using low-fat coconut milk: It won’t set properly. Full-fat only, IMO.
- Cutting too soon: Warm bars = messy cuts. Chill first for clean edges worthy of Instagram.
Alternatives
- Nut-free base: Swap almond flour for sunflower seed flour and almond butter for sunflower seed butter.
- Protein boost: Mix 1–2 tablespoons of unflavored or chocolate plant protein into the mousse.
Add a splash more coconut milk if too thick.
- Coffee twist: Add 1 teaspoon espresso powder to the mousse for mocha vibes.
- Tropical version: Replace cocoa with shredded coconut and lime zest; top with mango slices.
- Low-sugar route: Reduce maple syrup and add liquid stevia to taste. Balance with extra vanilla and a pinch more salt.
- Crunchy base: Add 2 tablespoons cacao nibs or crushed gluten-free rice cakes to the base for texture.
FAQ
Can I make this without a food processor?
Yes. Soak and mash the dates with a fork, then mix thoroughly with almond flour and cocoa using your hands.
It’s a mini workout, but it works.
What’s a good substitute for almond flour?
Finely ground oats (certified gluten free) will work, but the base will be slightly softer and less rich. Start with the same volume, then add more as needed.
How do I prevent the mousse from being runny?
Use full-fat coconut milk and measure carefully. If it’s still loose, whisk in 1–2 tablespoons extra cocoa powder or refrigerate 15–20 minutes to firm up before spreading.
Are these suitable for kids?
Absolutely.
They’re free from refined sugar, gluten, and dairy, and you can reduce cocoa for younger palates. Cut smaller squares for portion control.
Can I make this ahead for a party?
Yes—make 24–48 hours ahead and keep chilled. Add berries and nuts just before serving to maintain texture and color.
What if I don’t like coconut?
Use a thick cashew cream: blend soaked cashews with water until silky, then whisk with cocoa, maple, and vanilla.
It’s ultra-smooth and neutral in flavor.
My Take
Most “healthy” desserts taste like punishment. This one doesn’t. It’s rich, fast, and sneaky-nutritious—exactly what you want when you’re serious about results but still human.
Keep a batch in the fridge, and suddenly “I don’t have dessert” becomes “I have standards.” FYI: standards taste like chocolate tonight.

Printable Recipe Card
Want just the essential recipe details without scrolling through the article? Get our printable recipe card with just the ingredients and instructions.