
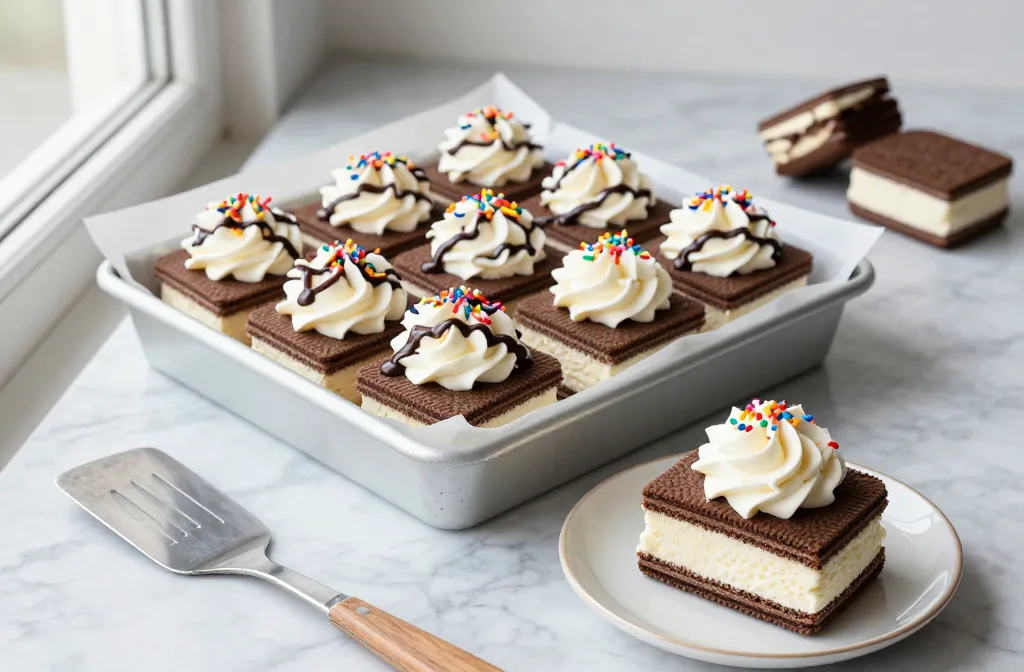
You bought the big box of ice cream sandwiches because summer optimism is a real thing. Now they lurk in your freezer, half-forgotten, slightly frosty, judging you. Good news: you can turn those leftovers into a no-bake dessert that looks fancy, tastes nostalgic, and takes about 10 minutes of actual effort. Zero ovens, zero drama, 100% “wait, you made this?”
Why Ice Cream Sandwiches Make the Perfect Shortcut
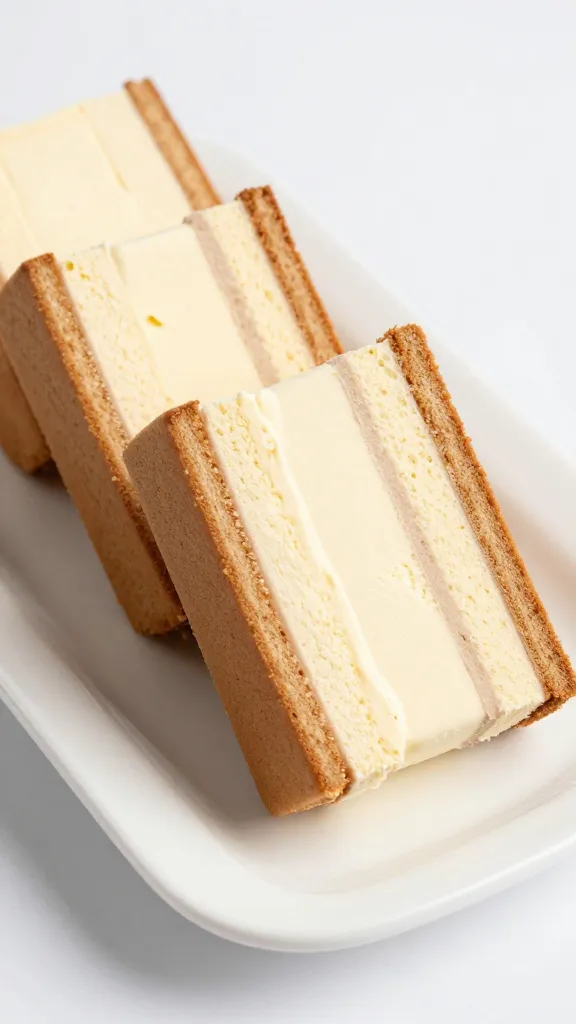
Ice cream sandwiches are already half a dessert—cookie + ice cream. You just stack, spread, freeze, and boom: a legit cake. You skip mixing bowls and measuring cups. You just use a knife and a spatula like the kitchen renegade you are.
The magic comes from the soft cookie layers. They thaw and re-freeze into a cake-like texture that tastes like a cross between tiramisu and grandma’s icebox cake. It’s nostalgic, but with better edges.
The Basic Formula (aka: How to “Bake” Without Baking)

At its core, you’ll build layers with ice cream sandwiches and something creamy to fill the gaps. After a quick freeze, you slice and serve.
Here’s the base version that never fails:
- 12–16 standard ice cream sandwiches (vanilla, chocolate, or mix)
- 1 tub (8 oz) whipped topping, thawed, or 2 cups lightly sweetened whipped cream
- Optional: chocolate syrup, crushed cookies, sprinkles
Steps:
- Line a loaf pan or 8×8 pan with parchment, leaving overhang for easy lifting.
- Lay a snug layer of sandwiches on the bottom. Trim to fit—just eat the scraps, IMO.
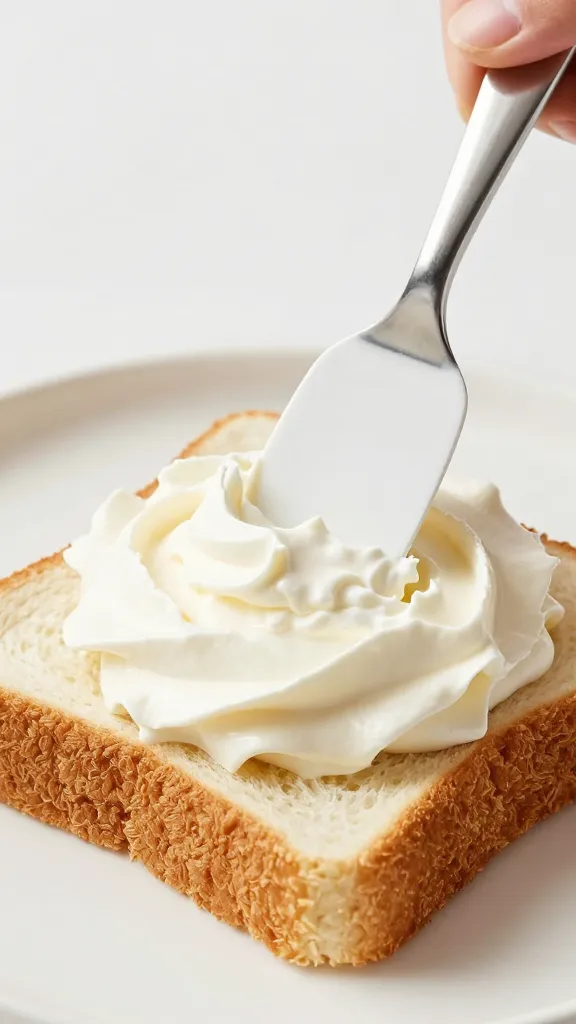
- Spread a thick layer of whipped topping over the sandwiches.
- Drizzle chocolate syrup or scatter crunchies if you’re feeling extra.
- Add another layer of sandwiches. Finish with whipped topping on top.
- Freeze 2–4 hours, until firm enough to slice cleanly.
Pan Choices That Make Life Easier
– Loaf pan: Tall, chic slices. Great for dramatic cross-sections.
– 8×8 or 9×9: Classic square cake, easy to cut into tidy bars.
– Springform: Looks bakery-level with clean sides. FYI, parchment still helps.
Flavor Upgrades That Take 2 Minutes
You can build a billion versions here, but I’ll be reasonable. Pick a lane, run with it, and take the win.
Cookies & Cream Crush
– Use vanilla sandwiches.
– Fold crushed chocolate sandwich cookies into the whipped topping.
– Finish with a cookie crumble crown.
Mocha Fudge “Tiramisu”
– Use chocolate sandwiches.
– Mix 1 teaspoon espresso powder into the whipped topping.
– Layer with hot fudge ribbons and cocoa dusting on top.
– Optional splash of Kahlúa in the topping for the 21+ crowd.
PB Cup Situation
– Use vanilla sandwiches.
– Swirl peanut butter and warm chocolate sauce in the middle layer.
– Top with chopped peanut butter cups.
– Light sprinkle of flaky salt because you’re fancy.
Strawberry Shortcake Vibes
– Use vanilla sandwiches.
– Fold chopped strawberries and a spoonful of jam into whipped topping.
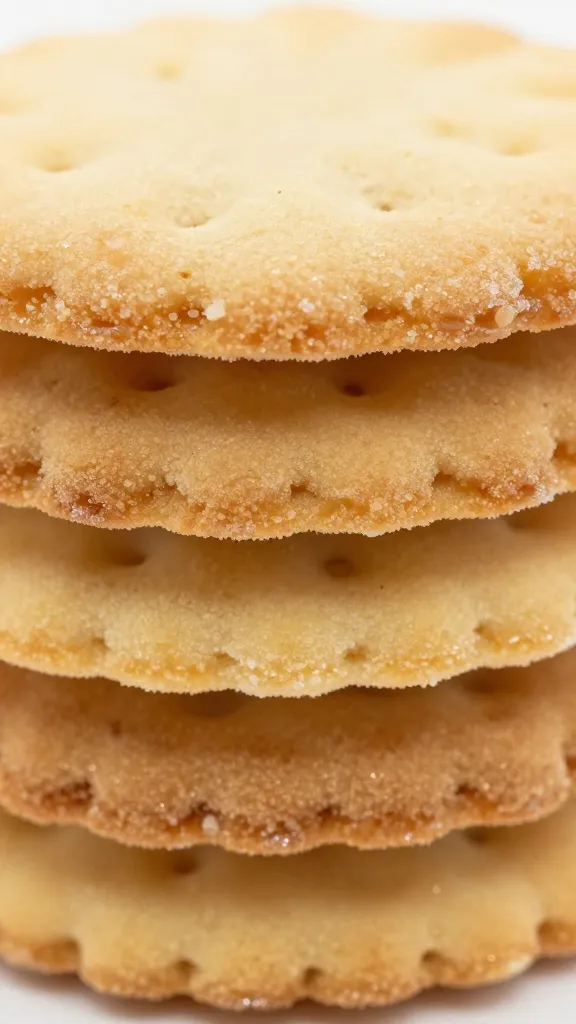
– Add a layer of crushed shortbread or vanilla wafers for crunch.
Mint Chocolate Avalanche
– Use mint sandwiches (or vanilla + mint extract in the topping).
– Add mini chips between layers.
– Drizzle thin ribbons of fudge.
– Finish with crushed chocolate-mint candies for drama.
Texture, Structure, and Sliceability
This is where “no-bake” still needs a little science. Relax—it’s friendly science.
For clean slices:
- Freeze the finished cake at least 2 hours. Overnight works best if you have time.
- Warm a sharp knife under hot water, wipe dry, then slice. Repeat between cuts.
- Don’t let it sit out too long before serving. It softens fast, and then it’s chaos.
For sturdy layers:
- Keep the whipped topping cold. Soft topping slips and slides.
- Press sandwiches gently into place to avoid air gaps.
- If your kitchen runs hot, assemble in two quick sessions and pop the pan back in the freezer between layers.
Crunchy vs. Creamy Balance
You want contrast. Add a thin layer of crushed cookies, toffee bits, or cereal between layers. Not a gravel pit—just a sprinkle. It stays lightly crunchy after freezing and gives that “oh hello” bite.
Decorating Without Trying Too Hard
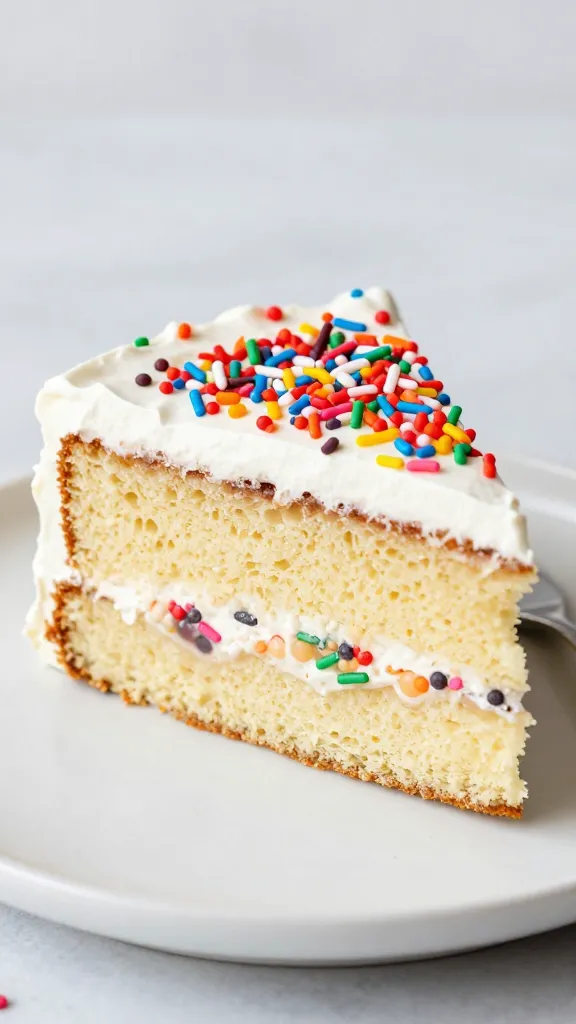
We eat with our eyes. Or at least our camera rolls do. Make it pretty with minimal effort.
Easy toppers that always work:
- Crushed cookies or wafer crumbs
- Chocolate shavings or mini chips
- Fresh berries and a mint sprig (peak summer energy)
- Drizzles of caramel or fudge in zigzags—no rules, just vibes
- Sprinkles, because joy
Clean Edges, Bakery Energy
Chill the topped cake for 15 minutes, then run a hot knife around the edges before lifting it out by the parchment. Smooth the sides with an offset spatula for that “did you buy this?” look. No one needs to know your secret sandwich stash did the heavy lifting.
Diet-Friendly Tweaks That Still Taste Great
You can adjust this to fit nearly any vibe without losing the fun.
Lighten it up:
- Use light or no-sugar-added sandwiches (they exist!)
- Swap whipped topping for Greek yogurt sweetened with a little honey and vanilla
- Stick to fruit and dark chocolate for mix-ins
Dairy-free route:
- Grab dairy-free ice cream sandwiches (oat, almond, coconut—so many options)
- Use coconut whipped cream or a dairy-free whipped topping
- Check your add-ins for sneaky dairy
Gluten-aware:
- Look for certified gluten-free ice cream sandwiches
- Use GF cookies or nuts for crunch layers
Make-Ahead, Store, and Serve Like a Pro
This dessert loves your schedule. You can make it days ahead and ignore it until the doorbell rings.
Timing tips:
- Assemble 1–3 days in advance. Cover tightly to avoid freezer funk.
- Let it sit at room temp 5–10 minutes before slicing—no more.
- Slice what you need and shove the rest back in the freezer immediately.
Storage:
- Wrap the whole cake in plastic, then foil. Or stash slices in airtight containers.
- Eat within 2–3 weeks for best texture and flavor. Longer than that and it turns into a time capsule.
Leftovers of the Leftovers
If it softens too much at a party, refreeze it and chop into cubes for sundaes. Or blend a piece into a milkshake. Yes, you can milkshake a cake. I said what I said.
FAQ
Can I use homemade whipped cream instead of whipped topping?
Absolutely. Whip heavy cream with a little sugar and vanilla to soft peaks. Fold gently so it stays airy. FYI, whipped topping holds structure slightly better, but real cream tastes richer.
My sandwiches are freezer-burned. Are they doomed?
Not doomed, just imperfect. Trim any icy edges and use extra sauce or a flavorful mix-in to distract. Once layered and frozen, most minor texture issues disappear under the whipped topping glow-up.
How do I prevent a melty mess while assembling?
Work fast and keep ingredients cold. Unwrap only what you need for one layer at a time. If your kitchen feels like a sauna, build one layer, freeze 10 minutes, then continue. Small breaks = sharp layers.
What if I don’t have enough sandwiches for two full layers?
Fake it. Do one full layer on the bottom, then cut the remaining sandwiches into halves or strips and patchwork the top. Fill gaps with whipped topping. When you slice, nobody notices. Promise.
Can I add fruit without it turning icy?
Yes, but chop small and pat dry. Berries work best. Mix fruit into the whipped layer rather than stacking thick fruit-only pockets, which can freeze hard.
How do I make it look like a real cake on the outside?
Frost the entire exterior with a thin layer of whipped topping, freeze 15 minutes, then add a final smooth coat. Decorate the top and press crumbs or nuts into the sides. It slices like a dream and looks store-bought, IMO.
Conclusion
Turn those leftover ice cream sandwiches into a no-bake showstopper with about the same effort as making a PB&J. Layer, smear, freeze, flex. It’s summer—dessert should feel easy, a little nostalgic, and wildly satisfying. Now go raid that freezer and claim your victory slice.
Printable Recipe Card
Want just the essential recipe details without scrolling through the article? Get our printable recipe card with just the ingredients and instructions.