
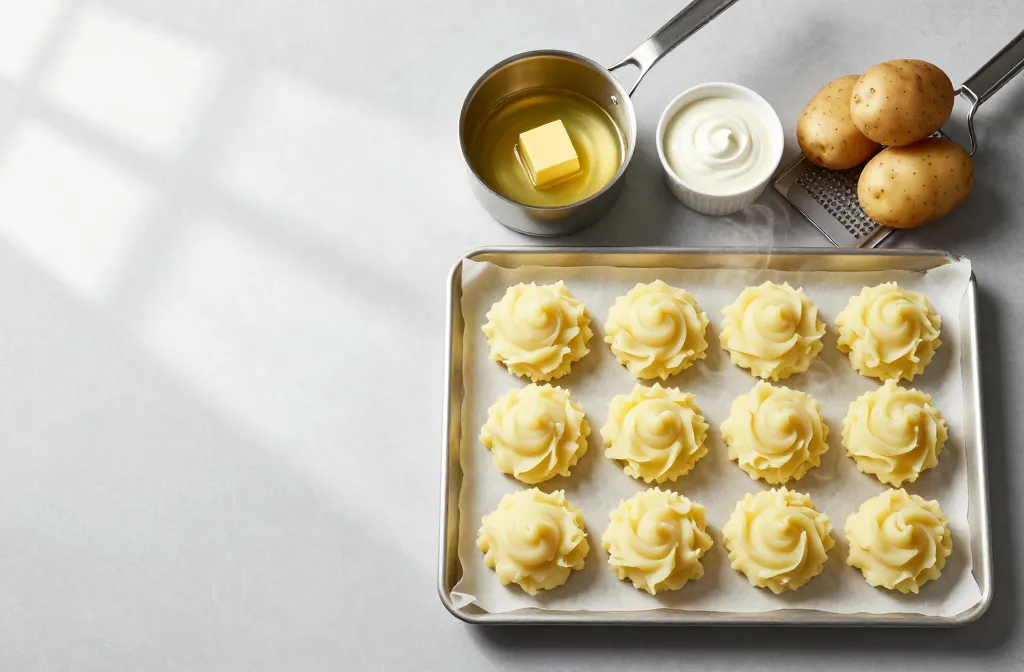
Leftover mashed potatoes can go from creamy cloud to weird grainy mush fast. But you can freeze them like a pro and bring them back better than takeout. I’ll show you simple tricks to lock in flavor, save time, and dodge food waste. Ready to stash those spuds without regret?
1. Prep Like A Chef: Start With Creamy, Freezer-Friendly Mash
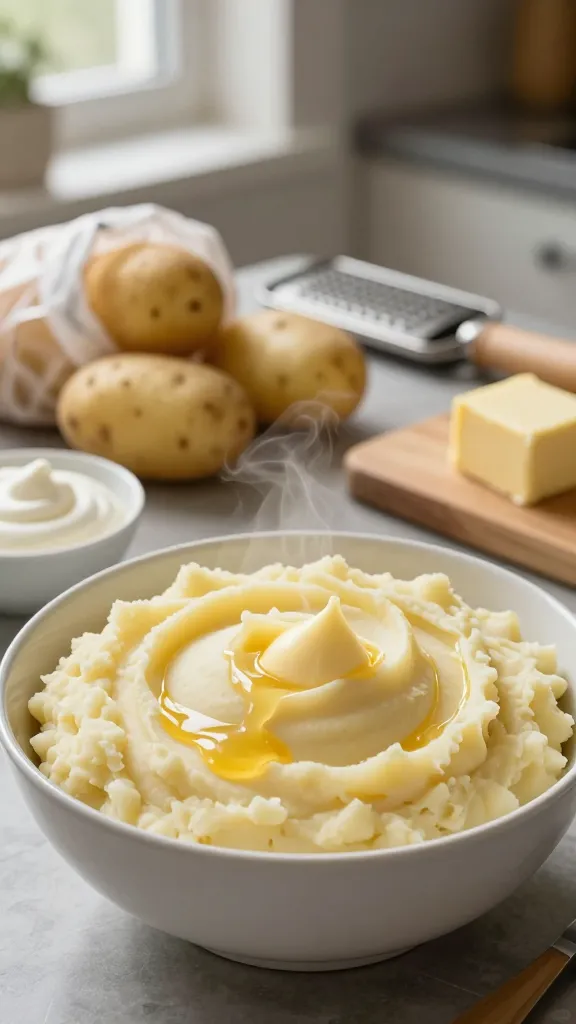
Great freezing starts before the freezer even enters the chat. The richer your mash, the better it freezes—fat and dairy protect texture and flavor. If your potatoes taste great now, they’ll taste great later, promise.
Why This Works
- Fat is your BFF: Butter, cream, and sour cream prevent ice crystals and graininess.
- Starchy potatoes win: Yukon Golds and Russets give you that fluffy, dreamy texture after thawing.
- Smooth > Chunky: Big chunks can get mealy; smoother mash reheats more evenly.
Use warm milk or cream and melt the butter in—cold dairy shocks the potatoes and makes them gummy. Season generously now; flavors dull a bit after freezing. FYI, even garlic mash freezes well if you keep it creamy.
Quick Add-Ins That Help
- Butter or Ghee: Adds richness and protects texture.
- Heavy Cream or Half-and-Half: Choose creamier over milk for best results.
- Cream Cheese or Sour Cream: Stabilizes and adds tang.
- Shredded Cheese: Melts in on reheat like a built-in upgrade.
Best time to use this method? Right after dinner when the potatoes are still fresh. You’ll thank yourself on a busy weeknight later.
2. Portion Like A Meal-Prep Genius
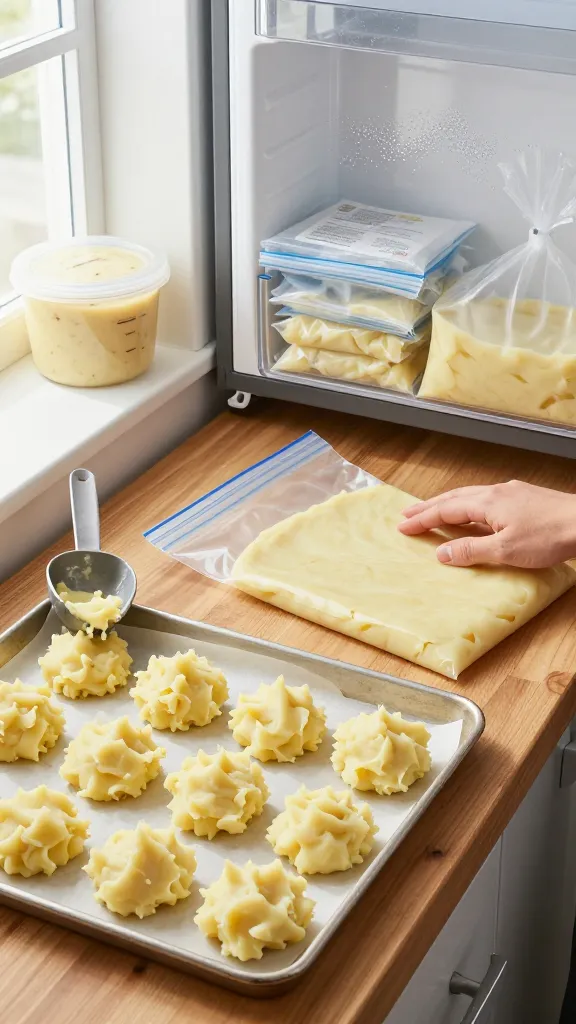
You can freeze one giant blob… or you can make your future self’s life easier. Portioning lets you defrost only what you need—no wrestling a frozen brick at 7 p.m.
Smart Portioning Methods
- Scoop-and-Freeze “Pucks”: Use a large cookie scoop or 1/2-cup measure, portion onto a parchment-lined sheet, freeze solid, then bag. Perfect for kid plates or sides-for-two.
- Flat Freezer Bags: Spread 2–4 cups in a labeled zip-top bag and press flat. Freezes fast, stacks neatly, thaws evenly.
- Meal-Sized Containers: For family dinners, use shallow, freezer-safe containers (2 inches deep max) so the center doesn’t turn into an icy mystery core.
Label Like You Mean It
- Write: “Mashed Potatoes,” flavor (garlic, chives, cheddar), date, and portion size.
- Use-By: 2–3 months for peak flavor; up to 4 months if you’re chill about it.
Portioning saves space, speeds defrosting, and stops you from wasting half a batch. Efficiency that tastes good—yes, please.
3. Freeze For Gold: Lock In Texture With The Right Gear

Air is the enemy. Your job: keep air out and freeze fast. That’s how you beat freezer burn and keep the mash creamy.
Tools That Make It Easy
- Sheet Pan + Parchment: For freezing scoops before bagging.
- Zip-Top Freezer Bags: Press out air, lay flat, stack like edible files.
- Vacuum Sealer (If You’ve Got One): Next-level protection for longer storage.
- Freezer-Safe Containers: Choose ones with tight seals; leave headspace for expansion.
Freezing Steps
- Cool First: Let potatoes cool to room temp (30–45 minutes). You don’t want to warm the freezer or trap steam.
- Portion: Scoop pucks or bag flat layers about 1 inch thick.
- Seal Tight: For bags, press air out completely. For containers, press plastic wrap directly onto the surface before sealing.
- Freeze Fast: Place near the back or on a flat shelf. Spread bags in a single layer; don’t stack until frozen solid.
Do this right and your future mash won’t taste like “freezer.” It’ll taste like you just made it, which is the whole point.
Pro Tips
- Chive or Herb Mash? Herbs can darken slightly. Not a deal-breaker, just cosmetic.
- Gravy Swirl? You can freeze it together, but separate is cleaner. IMO, do gravy solo.
Use this approach when batch-cooking before holidays or for cozy, no-effort weeknight sides.
4. Thaw And Reheat Without The Sadness
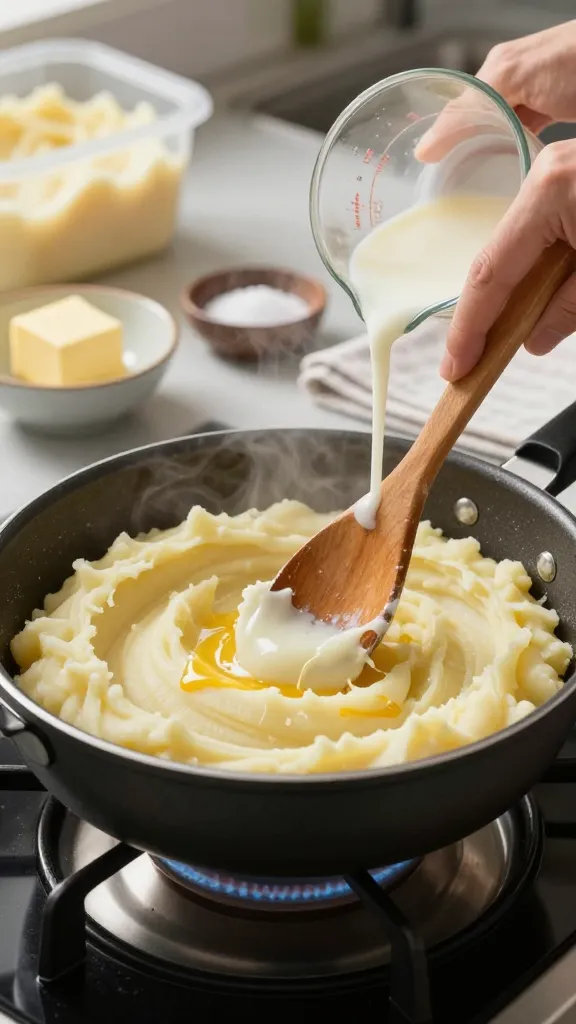
Reheating makes or breaks your mashed potatoes. Go low and slow, add a splash of liquid, and stir like you care. You’ll get silky, scoopable perfection instead of gluey disappointment.
Best Thawing Options
- Overnight In The Fridge: Easiest and safest. Move portions to the refrigerator 12–24 hours before reheating.
- From Frozen: Totally fine. Just budget a little extra time and heat gently.
Reheating Methods That Work
- Stovetop (Best Texture): Warm over low heat in a nonstick saucepan. Add 1–3 tablespoons milk/cream per cup of potatoes, plus a knob of butter. Stir and fold frequently until creamy.
- Microwave (Fastest): Microwave covered at 50–60% power in 1–2 minute bursts. Stir thoroughly each time. Add cream/butter as needed.
- Oven (Great For Crowds): Spread in a buttered baking dish, splash with cream, dot with butter, cover with foil, and bake at 325–350°F for 20–35 minutes. Stir once halfway.
- Sous Vide (If You’re Fancy): Seal in a bag and heat at 165°F until warmed through, then mash in extra butter at the end. Silky city.
Texture Rescue Add-Ins
- Butter or Cream: Brings back shine and body.
- Sour Cream or Cream Cheese: Adds tang and stability if things seem dry.
- Hot Milk: Always warm your liquid before adding to avoid shocking the potatoes.
Finish with salt and white pepper to taste. Toss in chives or roasted garlic if you want a glow-up. Reheat right and your potatoes will taste restaurant-level—seriously.
What To Avoid
- High Heat: It scorches and dries the edges while the center sulks cold.
- Overmixing With A Mixer: Can turn potatoes gummy. Fold gently with a spatula or wooden spoon.
Pull this out when you need a quick side, a shepherd’s pie topping, or you want mashed potatoes at brunch because obviously.
5. Turn Frozen Mash Into New Meals (Zero Boredom, Maximum Comfort)

You’re not stuck with a boring scoop of beige. Frozen mashed potatoes transform into upgraded dishes with almost zero effort. Think of them like a flavor canvas that already did the hard work.
Easy Upgrades
- Cheddar-Chive Mash: Stir in shredded cheddar and snipped chives while reheating.
- Garlic-Parmesan: Melt butter with minced garlic, fold in grated Parm and a splash of cream.
- Smoky Paprika Butter: Brown a little butter, add smoked paprika, swirl it through like a marble cake.
Full-On Meal Ideas
- Shepherd’s Pie Shortcut: Spread thawed mash over saucy ground beef or lamb with veggies. Bake until golden.
- Potato Cakes: Mix with an egg, a handful of flour or breadcrumbs, scallions, and cheese. Pan-fry until crisp.
- Loaded Mash Bowls: Top with crispy bacon, sautéed mushrooms, and a jammy egg. Weeknight comfort in a bowl.
- Gnocchi Hack: Mix thawed mash with flour and egg until soft dough forms; quick pan-sear after boiling.
- Soup Thickener: Whisk into chowders or creamy veggie soups for instant body.
Storage And Safety Notes
- One And Done: Reheat only what you’ll eat. Don’t refreeze reheated portions.
- Heat To Steaming: Aim for 165°F in the center for food safety.
- Use Within 3–4 Days: Once thawed in the fridge, finish them off soon.
Use these ideas when you need cozy vibes, quick sides, or a sneaky way to rescue a tired weeknight dinner. The freezer just became your sous-chef, FYI.
There you go—creamy, dreamy mashed potatoes that freeze like champs and reheat without drama. Try one method tonight and stash a batch for Future You. Your next lazy evening just got way more delicious, trust me.