
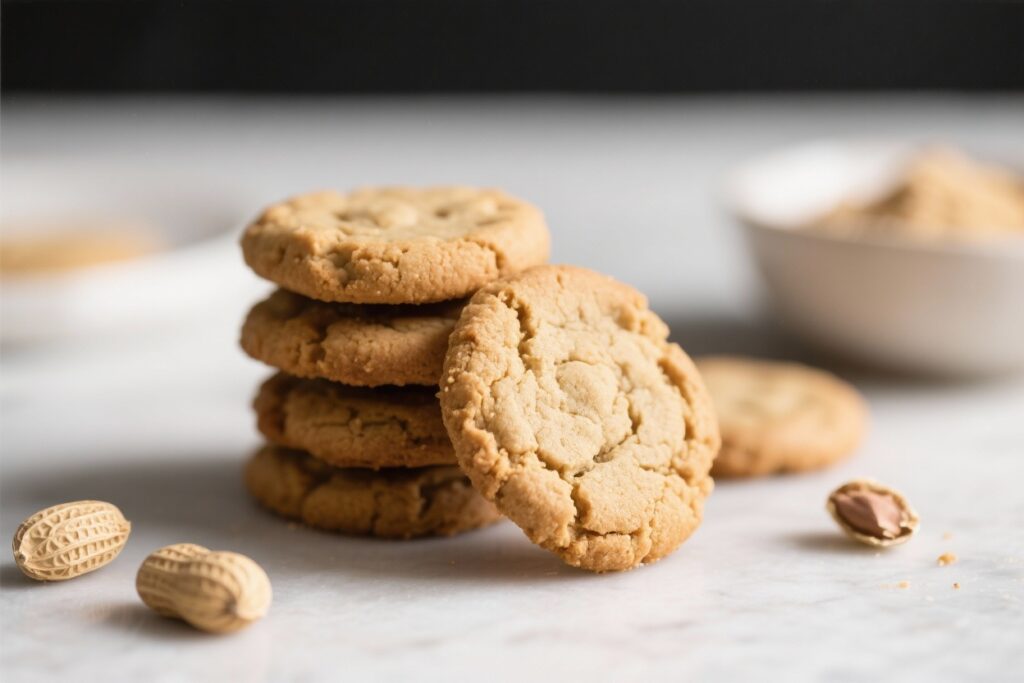
Want a cookie that hits like a bakery treat but takes less time than your coffee to brew? These Vegan Gluten-Free Peanut Butter Cookies use just three pantry staples and bake up in minutes—no flour, no drama, no weird aftertaste. They’re chewy at the center, crisp at the edges, and they do not require a culinary degree.
You’ll mix, scoop, bake, and suddenly you’re the person everyone texts for “that recipe.” Honestly, it’s almost unfair how good these are for how little effort they demand.
What Makes This Recipe So Good
 That Taste Like Cheating on Your Diet—in the Best Way")
- Only 3 ingredients: Natural peanut butter, maple syrup, and a touch of baking soda. That’s it, no flour, no eggs, no dairy.
- Fast and foolproof: One bowl, 10 minutes of work, and a short bake time. Great for last-minute dessert emergencies.
- Incredible texture: Chewy middle, slightly crispy edges, and that classic peanut butter richness.
- Allergy-friendly: Vegan, gluten-free, dairy-free, and egg-free.
Easily adaptable for nut-free options.
- Kid- and adult-approved: Sweet, satisfying, and perfect for lunchboxes or coffee breaks.
Ingredients
- 1 cup natural peanut butter (creamy, unsweetened, well-stirred)
- 1/2 cup pure maple syrup (or agave syrup)
- 1/2 teaspoon baking soda
Optional but awesome add-ins (choose 1–2): 1 teaspoon vanilla extract, a pinch of sea salt, 1/4 cup vegan chocolate chips, or 1–2 tablespoons coconut sugar for a crackly finish.
Instructions
 That Taste Like Cheating on Your Diet—in the Best Way")
- Preheat and prep: Preheat oven to 350°F (175°C). Line a baking sheet with parchment paper for easy release.
- Mix the dough: In a medium bowl, stir the peanut butter and maple syrup until smooth and glossy. Sprinkle in baking soda and stir until fully incorporated.
The dough will be thick and slightly sticky—perfect.
- Chill (optional but helpful): If your peanut butter was runny, chill the dough in the fridge for 10–15 minutes to make scooping easier.
- Scoop and shape: Use a tablespoon or small scoop to portion into 12–14 balls. Place on the baking sheet and gently flatten with your palm. For the classic crosshatch, press with a fork dipped in water.
- Bake: Bake for 9–12 minutes, depending on thickness.
Edges should be set and lightly golden; centers will look soft.
- Cool to set: Let cookies cool on the sheet for 10 minutes before transferring to a rack. They firm up as they cool, so patience pays.
- Finish (optional): Sprinkle with flaky sea salt while warm for that bakery-level flex.
Preservation Guide
- Room temperature: Store in an airtight container for up to 4 days. Add a slice of bread to the container to keep them soft.
- Refrigerator: Keeps for 1–2 weeks; the texture gets slightly chewier.
- Freezer (baked): Freeze in a single layer, then transfer to a bag or container for up to 2 months.
Thaw at room temp or warm for 30 seconds in the microwave.
- Freezer (dough): Scoop dough balls, freeze on a tray, and store for up to 3 months. Bake from frozen at 350°F, adding 1–2 minutes to the bake time.
 That Taste Like Cheating on Your Diet—in the Best Way")
Health Benefits
- Plant-based protein and healthy fats: Peanut butter packs protein and monounsaturated fats that support satiety and energy.
- Refined flour-free: No wheat or starches, which can help maintain steadier energy levels compared to traditional cookies.
- Lower-ingredient simplicity: Fewer ingredients means fewer additives—your body knows what to do with all three.
- Naturally gluten-free and dairy-free: Inclusive for many dietary needs without compromising flavor or texture.
- Customizable sweetness: Using maple syrup provides minerals like manganese and zinc; plus you can adjust the sweetness to taste.
Common Mistakes to Avoid
- Using super oily or dry peanut butter: If the jar is separated, stir thoroughly before measuring. Too much oil leads to greasy cookies; too dry leads to crumbly ones.
- Overbaking: These cookies firm up as they cool.
Pull them when edges are set and centers still look soft. Trust the process.
- Skipping the cool-down: Moving them too early can cause breakage. Give them the 10-minute rest on the sheet.
- Adding too many mix-ins: Keep add-ins modest (about 1/4 cup).
Overloading can make cookies fall apart.
- Not measuring syrup accurately: Too much liquid results in spreading; too little and they’ll be dry. Use a measuring cup you can scrape clean.
Different Ways to Make This
- Nut-free swap: Use sunflower seed butter. Heads-up: it may turn greenish due to chlorophyll reacting with baking soda—totally safe, kinda cool.
- Crunchy peanut butter version: For texture lovers, use crunchy PB or stir in chopped peanuts.
- Chocolate-dipped: Once cooled, dip half the cookie in melted vegan chocolate and let set.
Instant “gourmet.”
- Espresso twist: Add 1/2 teaspoon instant espresso powder for a mocha vibe. Great with chocolate chips.
- Cinnamon-maple: Add 1/2 teaspoon ground cinnamon and 1 teaspoon vanilla for warm, bakery-style notes.
- Salted caramel energy cookie: Use a pinch of flaky salt and drizzle with date caramel. IMO, dangerously good.
- Protein boost: Replace 1–2 tablespoons of peanut butter with your favorite plant protein powder; add a teaspoon of water if dough gets stiff.
FAQ
Can I use a sugar substitute instead of maple syrup?
Liquid is key here.
Agave works great as a 1:1 swap. Sugar-free syrups vary—choose one with a similar thickness to maple for best texture, and watch bake time since they can brown faster.
Do I need to add flour or oats?
Nope. The fat and protein in peanut butter bind with the syrup, and baking soda lifts just enough.
That’s the magic of this minimalist recipe.
Why did my cookies spread too much?
Likely extra oily peanut butter or too much syrup. Stir PB thoroughly, measure carefully, and chill the dough 10–15 minutes before baking. Baking on parchment, not a slick pan, also helps.
Can I make them without baking soda?
Yes, but they’ll be denser and chewier with less lift.
If you skip it, keep them small and don’t over-flatten before baking.
Are these safe for kids with allergies?
If peanut allergies are a concern, use sunflower seed butter or a safe nut/seed butter that fits their needs. Always check labels for cross-contamination, FYI.
How do I know they’re done?
Edges should be lightly golden and set, while centers look soft and puffy. The “set on the sheet” cool-down is the final step that locks in the perfect texture.
Can I reduce the sweetness?
Yes.
Use 1/3 cup maple syrup for a less sweet cookie. The dough will be firmer; flatten slightly more and reduce bake time by a minute to avoid dryness.
Final Thoughts
These Vegan Gluten-Free Peanut Butter Cookies are proof that simple can still slap. Three ingredients, one bowl, and you get bakery-level results with weeknight-level effort.
Make them classic, trick them out with chocolate, or go nut-free—you’re still winning. Keep a batch in the freezer for instant hero status the next time cravings call. Your only real problem?
They disappear fast—better double it.
 That Taste Like Cheating on Your Diet—in the Best Way")
Printable Recipe Card
Want just the essential recipe details without scrolling through the article? Get our printable recipe card with just the ingredients and instructions.