
You know that warm-bread smell that makes people instantly forgive you for anything? This is how you get it. No fancy tools, no sourdough starter named “Gerald,” just a simple, soft wheat loaf that turns beginners into bread people.
You’ll learn the exact steps to land a pillowy crumb and a golden crust without wrestling sticky dough. Bake this once, and your store-bought loaf won’t stand a chance. Your toaster is about to fall in love.
What Makes This Special

This recipe is designed to be ultra-forgiving for first-timers.
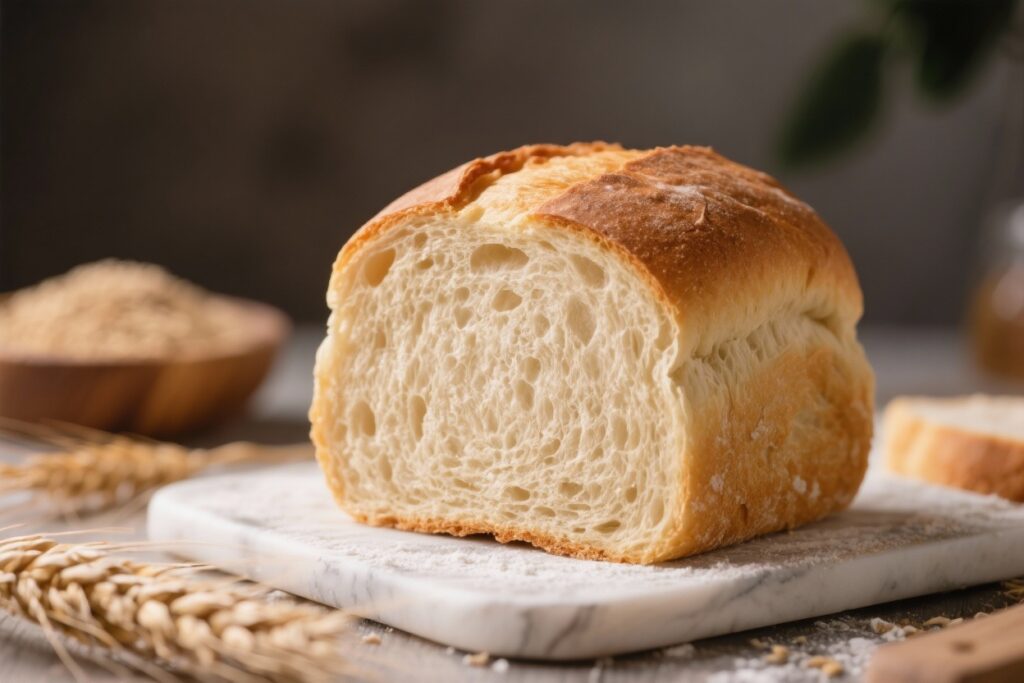
It blends whole wheat flour with a bit of all-purpose flour so you get the best of both worlds: hearty flavor and soft texture. The hydration is dialed in for easy kneading, so you don’t end up with a dough that feels like wet clay. And the loaf shape is classic, so it slices cleanly for sandwiches, toast, or right-off-the-pan “quality control.”
We also use a short autolyse (rest) to let flour hydrate, which means smoother dough with less elbow grease.
Plus, a splash of butter and honey adds softness and subtle sweetness without turning this into dessert bread. Translation: it’s delicious, but still weekday-friendly.
What You’ll Need (Ingredients)
- 2 cups (240 g) whole wheat flour
- 1 1/2 cups (190 g) all-purpose flour (plus extra for dusting)
- 1 1/4 cups (300 ml) warm water (about 105–110°F/40–43°C)
- 2 tablespoons (30 g) honey (or sugar)
- 2 tablespoons (28 g) unsalted butter, softened (or neutral oil)
- 2 1/4 teaspoons (7 g) instant yeast (or active dry; see notes)
- 1 1/2 teaspoons fine salt
- Optional: 2–3 tablespoons dry milk powder for extra softness
- Optional topping: melted butter for brushing
Instructions

- Proof (if using active dry): In a small bowl, combine warm water and honey. Sprinkle active dry yeast over top and wait 5–10 minutes until foamy.
Using instant yeast? Skip the proof—just mix it with the flour.
- Mix the base dough: In a large bowl, combine whole wheat flour, all-purpose flour, salt, and dry milk powder (if using). Add the water-honey mixture (with yeast) or water + honey plus instant yeast, and the softened butter.
Stir with a spoon until it forms a shaggy dough. No need to overthink it yet.
- Rest (autolyse): Let the shaggy dough sit for 15 minutes. This short break hydrates the flour and makes kneading easier.
Also gives you time to queue a playlist. Priorities.
- Knead: Turn the dough onto a lightly floured surface and knead for 8–10 minutes until smooth and slightly tacky, not sticky. If it’s gluey, dust with a teaspoon of flour at a time.
If it’s tight or tearing, wet your hands and keep going. You’re looking for a soft, elastic ball.
- First rise: Place the dough in a lightly oiled bowl, cover, and let rise in a warm spot until doubled, about 60–90 minutes. If your kitchen is chilly, use the oven with the light on (not heated) or set the bowl near a warm appliance.
- Shape the loaf: Gently deflate the dough and pat it into a rectangle about 8×12 inches.
Roll it up tightly from the short side like a jelly roll, pinch the seam, and tuck the ends under for a neat loaf.
- Pan it: Place seam-side down in a greased 8.5×4.5-inch or 9×5-inch loaf pan. Press gently to fit the corners.
- Second rise: Cover and let rise until the dome crests about 1 inch above the pan’s rim, 35–60 minutes depending on room temp. It should jiggle slightly when tapped—like a very polite waterbed.
- Preheat and bake: Preheat oven to 350°F (175°C).
Bake 28–35 minutes, until the top is golden brown and the internal temperature hits 190–195°F (88–90°C). If it’s browning too fast, tent loosely with foil for the last 10 minutes.
- Finish and cool: Brush the hot loaf with melted butter for extra softness and shine (optional but highly recommended). Carefully remove from the pan and cool on a rack at least 45 minutes before slicing.
Yes, waiting is hard. Yes, it’s worth it.
Preservation Guide
- Room temp: Store in a bread box or wrapped in a clean towel and then in a loose plastic bag for 3–4 days. Keep it out of the fridge—refrigeration dries bread faster than your inbox dries on a Friday night.
- Freezing: Slice, wrap tightly in plastic or foil, and freeze in a zip bag for up to 2 months.
Toast straight from frozen or thaw at room temp in the bag.
- Reviving: Day-old loaf? Sprinkle a few drops of water on a slice and toast, or warm the whole loaf at 300°F (150°C) for 8–10 minutes, loosely wrapped.

Health Benefits
- Whole grains = fiber: The whole wheat flour boosts your fiber intake, which supports digestion, satiety, and steady energy.
- Better control over ingredients: You decide the sweetener, the fats, and the sodium. No mystery preservatives or add-ins you can’t pronounce.
- Micronutrients: Whole wheat offers B vitamins, iron, magnesium, and antioxidants.
Don’t expect superfood capes, but it’s a solid upgrade from ultra-processed loaves.
- Balanced carbs: Pair with protein and fats (eggs, nut butter, lean meats) for steadier blood sugar. FYI, that’s how you win breakfast.
Avoid These Mistakes
- Water too hot: Yeast dies above ~120°F (49°C). If it’s too hot for your finger, it’s too hot for the yeast.
RIP bubbles.
- Flour overload: Adding tons of flour during kneading creates dense bricks. Keep the dough slightly tacky; your future sandwiches will thank you.
- Under-proofing or over-proofing: If the dough springs back aggressively, it needs more rise. If it collapses when poked, it went too far.
Aim for a gentle, slow rebound.
- Slicing hot: Cutting too soon compresses the crumb. Let it cool so the structure sets. Patience is the secret ingredient nobody likes to hear about.
- Wrong pan size: A too-large pan makes short loaves; too small can cause overflow.
Standard 8.5×4.5 or 9×5 is the sweet spot.
Mix It Up
- Seeded crust: Brush the loaf with water before the second rise and sprinkle sesame, poppy, or sunflower seeds for crunch.
- Oat-topped: Press rolled oats on top right before baking for bakery vibes.
- Flavor twist: Add 1 teaspoon cinnamon + 2 tablespoons raisins for a breakfast loaf. Or fold in 1/2 cup shredded cheddar and a pinch of garlic powder for a savory version.
- Sweetener swap: Replace honey with maple syrup or brown sugar for a subtle change in flavor.
- Dairy-free: Use olive oil instead of butter and skip the milk powder. Still soft, still awesome.
FAQ
Can I make this 100% whole wheat?
Yes, but expect a slightly denser crumb.
Increase the water by 1–3 tablespoons as whole wheat absorbs more. Vital wheat gluten (1 tablespoon) can help with lift, but it’s optional.
What if I only have active dry yeast?
Totally fine. Proof it in the warm water with honey first until foamy (5–10 minutes), then proceed.
If it doesn’t foam, your yeast might be inactive—grab a fresh packet.
How do I knead without a stand mixer?
Use the push-fold-turn method: push dough away with the heel of your hand, fold it back over itself, rotate a quarter turn, and repeat. Or try the slap-and-fold method if the dough is sticky. It’s oddly therapeutic.
Why is my bread dense?
Likely causes: too much flour, under-kneading, or rushed proofing.
Make sure the dough doubles on the first rise and reaches that 1-inch dome above the pan before baking. Also check your yeast freshness—expired yeast is a vibe killer.
Can I make it overnight?
Yes. After kneading, cover and refrigerate the dough overnight.
Next day, let it come to room temp, shape, rise, and bake. Slower fermentation = deeper flavor, IMO.
Do I need a thermometer?
Not required but helpful. A loaf that hits 190–195°F inside is done without guesswork.
If you don’t have one, tap the bottom—if it sounds hollow, you’re close.
Can I bake this free-form without a pan?
You can shape it as a bâtard on a sheet pan, but it will spread a bit and bake faster. Start checking at 25 minutes. The pan gives that classic sandwich shape.
Wrapping Up
This Soft Homemade Wheat Bread Recipe for Beginners nails the trifecta: simple steps, soft crumb, and real flavor.
Follow the cues, trust the rises, and let the oven do the flexing. Bake it once, and your kitchen becomes the place people “just happen” to stop by around lunchtime. Your move: preheat, mix, and claim the best-smelling win of the week.

Printable Recipe Card
Want just the essential recipe details without scrolling through the article? Get our printable recipe card with just the ingredients and instructions.