
Forget mystery blends and fancy gadgets. This is the burger playbook that turns ground beef into a jaw-dropping, burger-joint-level patty—without shrinking, tough edges, or grease puddles. It’s fast, it’s repeatable, and yes, you’ll look like a genius for doing almost nothing complicated.
Imagine a thick, juicy patty that stays the same size as the bun. That’s not luck—it’s technique. And after today, it’s yours.
What Makes This Special
 — The Shockingly Simple Method Chefs Don’t Want You to Skip")
This recipe solves the two big burger problems: shrinkage and dryness.
The fix? A colder-than-cold grind, the right fat-to-lean ratio, and a tiny thumbprint that keeps the patty flat. We also salt at the right time—because salting early turns your burger into a meatball.
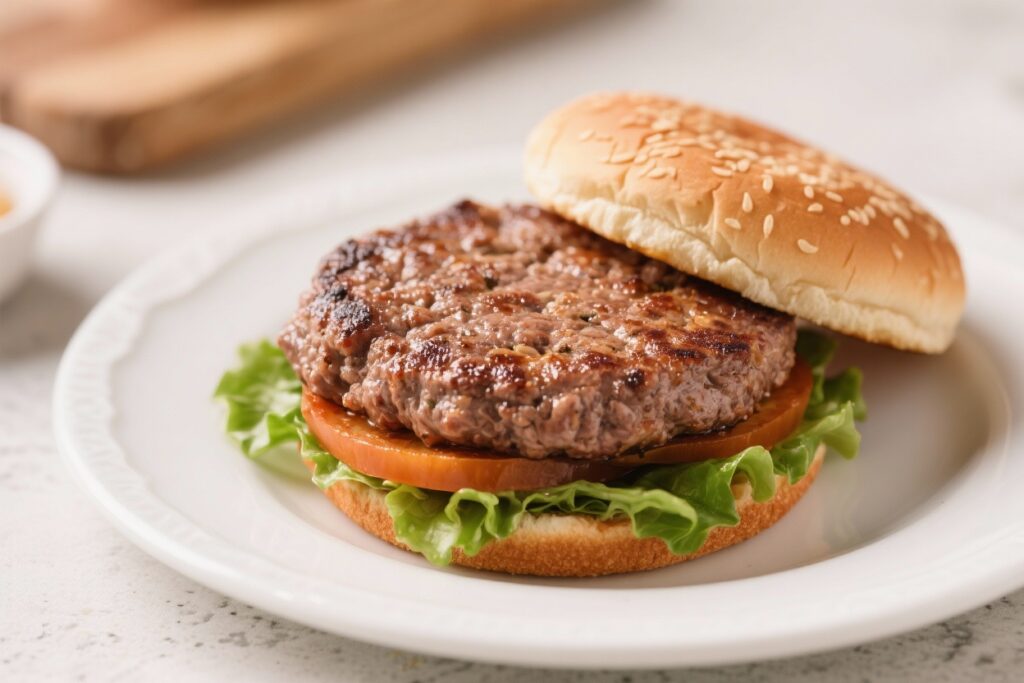
Expect a patty with a crispy sear, a juicy center, and a shape that doesn’t morph into a hockey puck.
It’s built for stovetop, grill, or cast-iron. No breadcrumbs, no egg, no filler—because this is a burger, not a meatloaf audition.
What You’ll Need (Ingredients)
- Ground beef (80/20) – 1.5 pounds (makes 4 quarter-pound patties)
- Kosher salt – 1 to 1.5 teaspoons
- Freshly ground black pepper – 1 teaspoon
- Neutral oil or beef tallow – 1 tablespoon (for pan/griddle)
- Optional flavor boosts:
- 1 teaspoon onion powder or garlic powder
- 1 teaspoon Worcestershire sauce
- 1 teaspoon Dijon mustard (light brush, not mixed in)
- Buns – 4 potato or brioche buns, toasted
- Cheese (optional) – 4 slices American, cheddar, or pepper jack
- Toppings – lettuce, tomato, pickles, onions
- Condiments – ketchup, mustard, mayo, or special sauce
Instructions
 — The Shockingly Simple Method Chefs Don’t Want You to Skip")
- Keep it cold. Put the ground beef in the fridge for at least 20 minutes. Cold fat = less smear = juicier burgers.
- Divide without overworking. Split into 4 equal portions (about 6 oz each).
Handle gently—think marshmallow, not stress ball.
- Form tall, loose pucks. Lightly form into 3/4-inch thick rounds, just barely compacted. Don’t knead. Don’t press.
You’re not making pottery.
- Make the dimple. Press a shallow thumbprint in the center of each patty. This prevents doming and shrinking. Science and thumbs: a winning combo.
- Season at the last second. Sprinkle kosher salt and pepper on the outside of the patties right before they hit the heat. This keeps the interior tender and beefy.
- Preheat for a serious sear. Heat a cast-iron skillet or grill to medium-high until it’s ripping hot.
Add a light film of oil or tallow.
- Cook without fuss. Place patties dimple-side up and don’t move them for 3–4 minutes, until a deep brown crust forms.
- Flip once. Flip and cook 2–4 minutes more depending on doneness:
- Medium-rare: 130–135°F
- Medium: 135–145°F
- Medium-well: 145–155°F
Use an instant-read thermometer if you want accuracy and fewer regrets.
- Cheese it right. If adding cheese, place a slice on each patty for the last 30–60 seconds and tent with a lid to melt.
- Rest briefly. Let patties rest 2–3 minutes. This keeps juices inside instead of all over your cutting board.
- Toast and build. Butter and toast buns in the same pan for bonus flavor. Stack with your favorite toppings and sauces.
Keeping It Fresh
Fridge: Store cooked patties in an airtight container for up to 3 days.
Reheat gently in a 300°F oven for 8–10 minutes or in a covered skillet over low heat. Avoid microwaving if you like moisture (you do).
Freezer: Form raw patties, place parchment between them, and freeze in a zip-top bag for up to 3 months. Cook from frozen: add 2–3 minutes per side, lower heat slightly, and still season right before cooking.
Make-ahead move: Shape patties the morning of, keep chilled on a tray wrapped in plastic, and season just before cooking.
FYI: cold patties sear better than room-temp ones.
 — The Shockingly Simple Method Chefs Don’t Want You to Skip")
Benefits of This Recipe
- No shrinking, no doming. The dimple trick and minimal handling keep patties bun-sized and flat.
- Max juice, real crust. Cold meat plus hot pan equals the Maillard magic you crave.
- Simple ingredients. Just beef, salt, pepper—because the flavor is in the technique.
- Flexible cooking. Works on grill, griddle, or stovetop without babysitting.
- Restaurant-level results. You’ll get the sizzle, the aroma, and the bite that feels “premium.”
Pitfalls to Watch Out For
- Overmixing the meat. This makes patties dense and bouncy (in a bad way). Touch less, win more.
- Salting too early. Salt draws moisture and changes texture. Season right before cooking.
- Pan too cool. No crust, just gray sadness.
Preheat until the oil shimmers.
- Pressing during cooking. You’re not squeezing oranges. Pressing forces out juice and flavor.
- Wrong fat ratio. 80/20 is the sweet spot. Leaner blends = dry city, IMO.
Alternatives
- Smashburgers: Use 70/30 or 80/20, 2–3 oz balls.
Smash on a ripping-hot griddle for 10 seconds, cook 1–2 minutes per side. Max crust, thinner patties.
- Blended umami: Mix in 10–15% finely chopped mushrooms or caramelized onions for a savory boost and extra moisture.
- Flavor crust: Lightly brush patties with Dijon and Worcestershire before searing for a tangy, steakhouse vibe.
- Cheese-stuffed (Jucy Lucy): Seal a slice of cheese between two thinner patties. Cook a bit longer and rest well unless you enjoy lava-mouth.
- Non-beef options: Ground bison (add 1–2 tbsp beef tallow), turkey (use 93% and add 1 tbsp mayo), or plant-based patties (cook per package, but keep the dimple trick).
FAQ
Why do my burgers shrink so much?
Two reasons: overworked meat and high heat with no dimple.
Keep the mix loose, use 80/20 beef, press a thumbprint in the center, and avoid smashing them while cooking.
Should I add egg or breadcrumbs?
Nope. That’s for meatballs or meatloaf. A burger patty holds together fine if you don’t overwork it and sear it properly.
Can I season the inside of the meat?
You can, but salting inside early changes the texture and can make burgers firm.
The best move is to season the exterior generously right before the patty hits the heat.
What’s the best cheese for melting?
American melts like a dream, cheddar adds sharpness, pepper jack brings heat. Slice thickness matters—thin slices melt faster and more evenly.
How do I know when it’s done without cutting it?
Use an instant-read thermometer. Aim for 130–135°F for medium-rare and up to 155°F for medium-well.
Cutting releases juices; thermometers don’t.
Is cast-iron better than a grill?
Cast-iron gives a consistent, aggressive sear and keeps fat in contact with the meat. Grills add smoky flavor and grill marks. Both work; cast-iron is slightly more foolproof.
Can I grind my own beef?
Absolutely.
Blend chuck, brisket, and short rib for a killer mix. Keep everything icy cold and grind coarse. You’ll taste the difference.
In Conclusion
This Perfect Hamburger Patty Recipe (No Shrinking, Extra Juicy) isn’t about secret sauces—it’s about controlling the basics: cold meat, right fat ratio, minimal handling, last-second seasoning, hard sear, and a simple dimple.
Do those and your burgers will finally match the bun, the photos, and the hype. Next cookout, you won’t need a speech—just that first bite and a smug smile. Go make it happen.
 — The Shockingly Simple Method Chefs Don’t Want You to Skip")
Printable Recipe Card
Want just the essential recipe details without scrolling through the article? Get our printable recipe card with just the ingredients and instructions.