
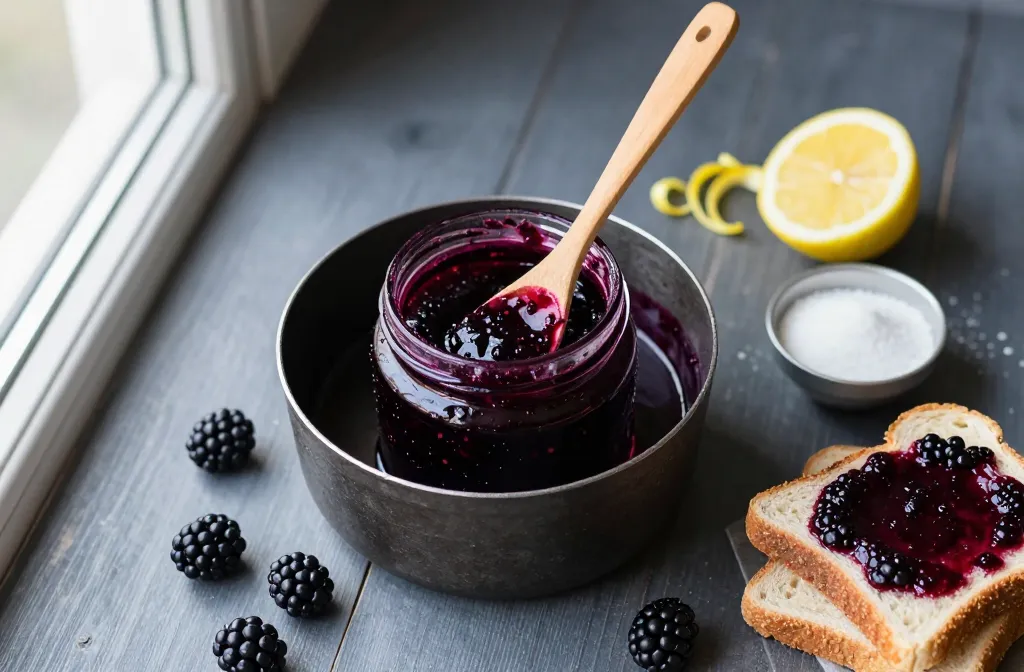
You bought a pint of blackberries with noble intentions. Now they glare at you from the fridge, teetering on the edge between plump perfection and science experiment. Don’t let them win. Grab some sugar, a lemon, and a pot—we’re turning those leftovers into homemade jam before they spoil, and it’s going to taste like summer high-fived your toast.
Why Jam Saves the Day (and Your Berries)
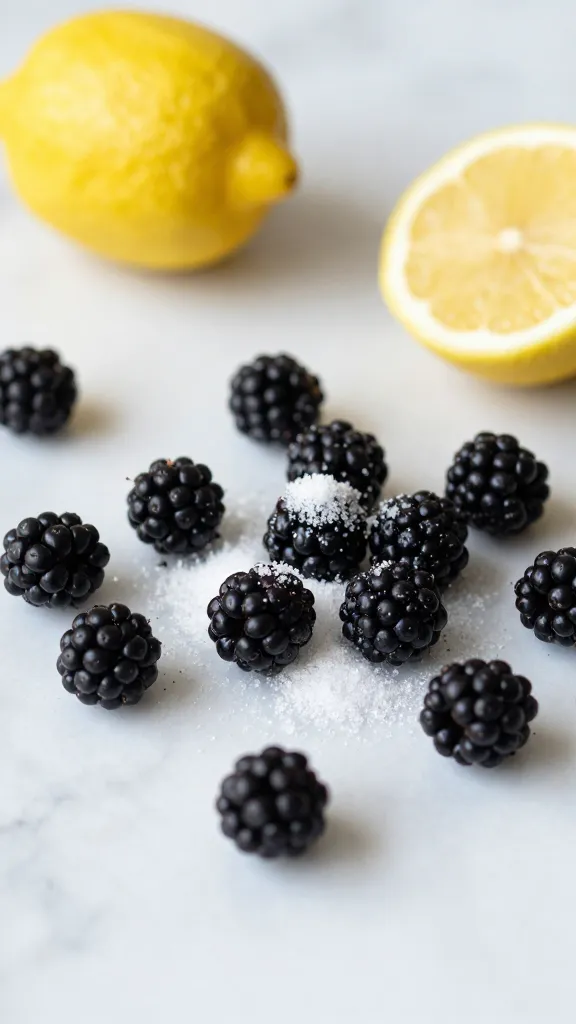
Let’s be real: blackberries go from cute and juicy to soft and suspicious fast. Jam freezes that perfect moment. You’ll transform a handful of berries into something you can spoon onto yogurt, swirl into oatmeal, or slather on biscuits.
Also, jam feels fancy with almost zero pressure. You don’t need canning gear for a quick fridge batch. You just need heat, sugar, and 20 minutes. Sound doable? Good.
What You’ll Need (And What You Can Swap)
Basic blackberry jam formula:
- Blackberries: 2–4 cups, fresh or thawed from frozen
- Sugar: 3/4 to 1 cup per 2 cups berries (sweetness to taste)
- Lemon: Zest + 1–2 tablespoons juice
- Pinch of salt: Rounds out the flavor
Optional extras:
- Pectin: For a firmer set, especially if your berries taste less tart
- Vanilla, ginger, or thyme: A little goes a long way
- Chia seeds: Quick-set jam hack (more on that below)
Gear:
- Heavy-bottomed saucepan
- Wooden spoon or spatula
- Potato masher or fork
- Clean jars or containers with lids
Quick Blackberry Jam, Step by Step
1) Prep and taste
Rinse the berries gently and pick out any mushy ones. Taste a few. Super-sweet berries need less sugar; tart berries need a bit more. IMO, start with less sugar and add more at the end if needed.
2) Mash and mix
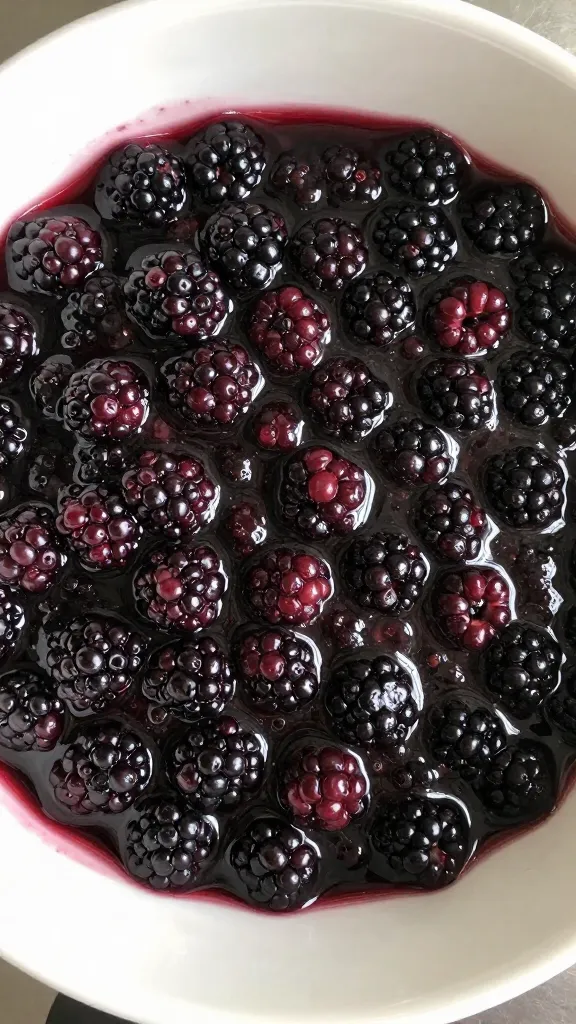
Add berries to the pot with sugar, lemon zest, lemon juice, and a pinch of salt. Mash lightly—leave some texture unless you want it super smooth. Let the mixture sit for 5–10 minutes so the sugar draws out the juices.
3) Bring the heat
Set the pot over medium heat and stir until the sugar dissolves. Once it bubbles, reduce to a brisk simmer. Skim any foam if you care about appearances (I often don’t—tastes the same).
4) Cook to the set
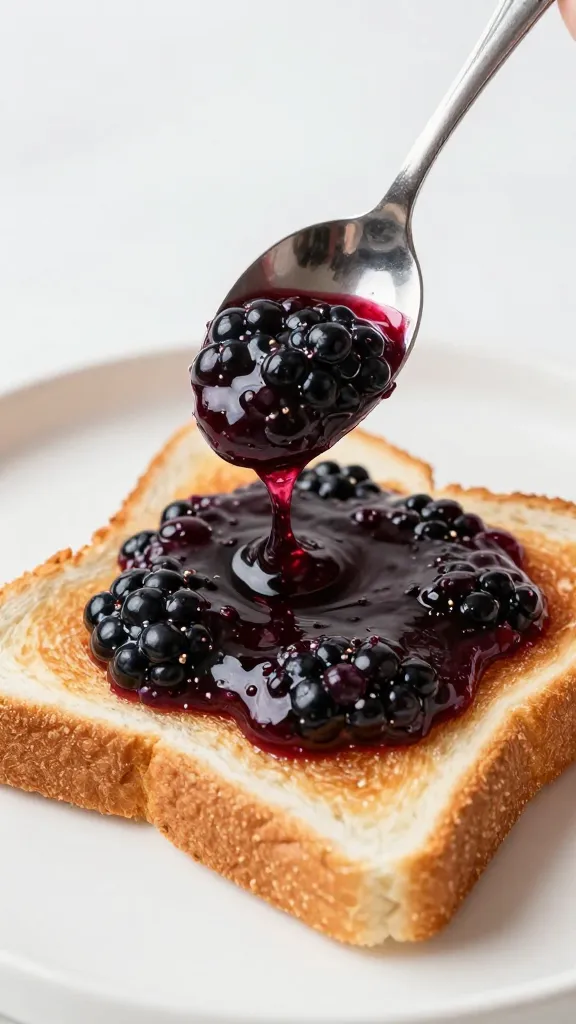
Simmer 10–20 minutes, stirring often. The jam thickens and the bubbles look slower and glossier. Drag a spoon across the bottom; if the trail briefly holds, you’re close.
5) Test, adjust, finish
Do the cold-plate test: dab a teaspoon of jam on a chilled plate, wait 30 seconds, and push it with your finger. If it wrinkles, it’s done. Too thin? Cook a few minutes more. Too sweet? Add a squeeze more lemon. Off the heat, stir in a tiny splash of vanilla or a nub of butter to calm foam, if you like.
No-Pectin vs. Pectin vs. Chia: Which Route Fits You?
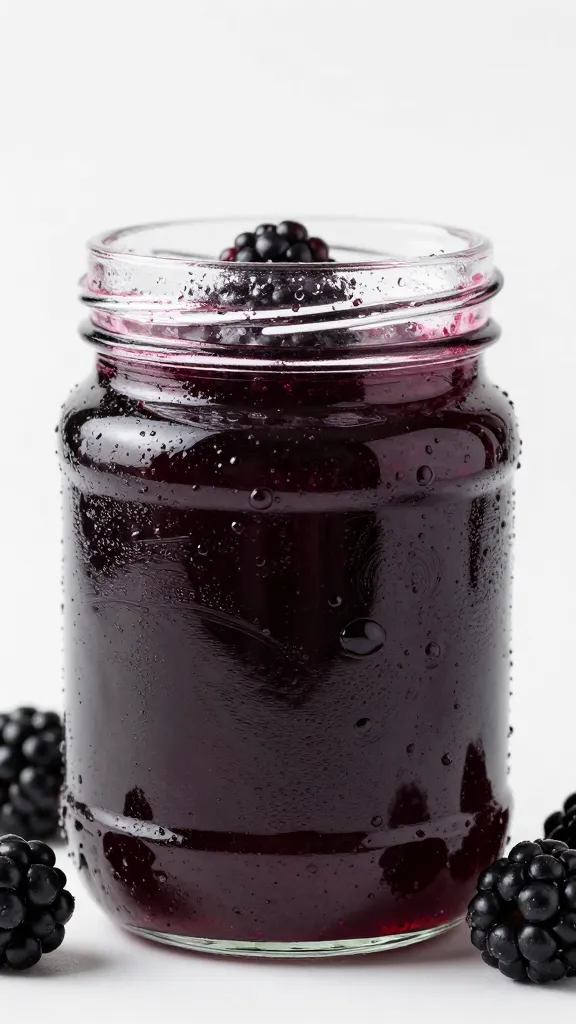
No-pectin (classic)
Pros: Pure fruit flavor, minimal ingredients.
Cons: Needs enough sugar and time to set.
Best for: 2–4 cups fruit, when you don’t mind a softer, spoonable jam.
Pectin-added (firm and fast)
Pros: Sets reliably, even with lower sugar.
Cons: You need store-bought pectin and to follow the brand’s order-of-operations.
Best for: Big batches or when you want a more “jelly-jam” vibe.
Chia jam (speed demon)
Pros: Five-minute prep, light sweetness, no cooking marathon.
Cons: Different texture; must stay refrigerated and used within 1–2 weeks.
How: Mash warm berries with sweetener and lemon, stir in 1–2 tablespoons chia seeds per cup fruit, and chill to thicken.
Flavor Upgrades That Don’t Try Too Hard
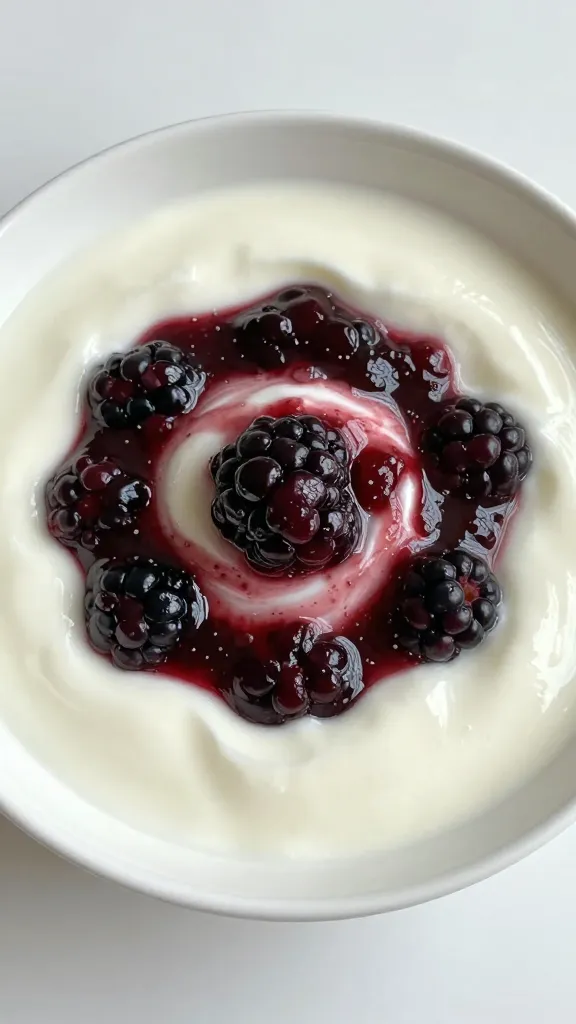
You can keep things classic, or you can flex a little. Subtlety rules here.
- Lemon-thyme: Add a small sprig while simmering; fish it out at the end.
- Blackberry-vanilla: 1/2 teaspoon vanilla off heat; it turns cozy fast.
- Ginger-kick: 1 teaspoon finely grated fresh ginger for bright warmth.
- Smoky note: Tiny pinch of cinnamon or allspice—seriously, tiny.
- Mixed berry rescue: Combine those stray raspberries or blueberries hiding in the back. FYI: mixed-berry jam tastes like “I planned this.”
Smooth vs. Seedy: Choose Your Adventure
Blackberries bring seeds. They add charm… or annoyance. Your call.
Keep the seeds
It’s fast and rustic. Seeds soften a bit during cooking. Great on toast or stirred into yogurt where texture blends in.
Go smoother
Push hot jam through a fine-mesh strainer for a seed-lite finish. It takes some elbow grease, but the result spreads like silk. Perfect for cake fillings or people with texture beef.
Storage, Safety, and How Not to Ruin a Good Thing
Fridge jam: Spoon into clean jars, cool to room temp, then refrigerate. It keeps 2–4 weeks. Always use a clean spoon.
Freezer jam: Leave headspace, freeze up to 6 months. Thaw in the fridge.
Water-bath canning: Totally doable but needs sterilized jars, proper headspace, and processing time. If you don’t want that whole saga tonight, make fridge jam and call it a win.
Pro tips that actually help
- Don’t overcook: Burnt jam tastes like sadness. Keep the simmer lively, not volcanic.
- Balance is everything: Lemon brightens, salt rounds, sugar stabilizes. Adjust as you go.
- Label your jar: Date and flavor. Future-you will thank present-you.
Serving Ideas That Make You Look Extra
You can spread jam on toast and live a very happy life. Or you can level up casually.
- Breakfast: Swirl into oatmeal, dollop on pancakes, or layer in yogurt parfaits.
- Snacks: Spoon over ricotta on toast with a drizzle of honey. Add crushed pistachios if you’re feeling bougie.
- Savory twist: Melt with a splash of balsamic and brush on grilled chicken or pork. Sweet-tart glaze = chef’s kiss.
- Desserts: Ripple into brownies before baking, or sandwich between shortbread cookies.
- Drinks: Shake a spoonful with gin, lemon, and ice. Strain and top with soda. Blackberry smash, anyone?
FAQ
How much sugar do I really need?
Short answer: less than you think, but not zero. Sugar helps jam set and last longer. For 2 cups of berries, start with 3/4 cup sugar, taste, and adjust. If you go super low-sugar, eat it faster and keep it in the fridge.
Can I use frozen blackberries?
Absolutely. Thaw and drain off some liquid so your jam doesn’t run thin. Frozen berries often taste extra sweet, FYI, so hold back some sugar until the end.
What if my jam doesn’t set?
No panic. Simmer a few more minutes to reduce. If it still acts rebellious, stir in a little powdered pectin per package instructions, or rename it “blackberry sauce” and drizzle it on everything. Honestly, nobody complains.
Do I need to sterilize jars for fridge jam?
Not strictly, but clean, hot, and dry jars make a difference. Run them through the dishwasher or rinse with very hot water and air-dry. Save full sterilization and canning steps for shelf-stable storage.
Why is my jam foamy?
Berries trap air as they cook. Skim the foam if you want a glossy finish. A pea-sized pat of butter at the end can calm foam, IMO, but skip it if you’re canning for long-term storage.
How long will homemade jam last?
In the fridge, plan on 2–4 weeks. In the freezer, up to 6 months. If anything smells off or grows fuzz, it’s not “aged”—it’s done. Be brave and toss it.
Wrap-Up: Save the Berries, Save the Day
You started with berries on the brink. Now you’ve got jars of deep-purple joy waiting to jump onto toast, swirl into yogurt, and sneak into cocktails. Homemade jam turns almost-spoiled into absolutely-stellar with a pot and a plan. Go raid that fridge and flex your jam skills—future breakfasts will thank you.
Printable Recipe Card
Want just the essential recipe details without scrolling through the article? Get our printable recipe card with just the ingredients and instructions.